When You Need Gears for Airsoft
When You Need Gears for Airsoft
News
How to shim your gears
xv. 09. 2018
Our shop started the offering of our own gearbox shims recently. The shims are used to right the movement will/gaps of electric airsoft gun between gear and gearbox. Our shims are manufactured from plated steel and they are 0,1mm thin. We do not recommend using shims made from non-ferrous metals (for example copper or zinc), because even shims are under pressure and they tin can cause destroying of the gears by for example: jamming the shim or cutting it. Thats why we bring to you lot this guide.
We recommend using 0,1mm thin shims, because of gentle setting of the gaps betwixt the gears and gearbox.
Shimming your gears is not a big science, but if you desire to do it in the right manner, you need some time with it. Gears in AEG are mostly iii, there can be also iv, but we will focus today on the three gear standard. For amend agreement, nosotros volition show the shimming of the gears in our CNC dissever gearbox lower.
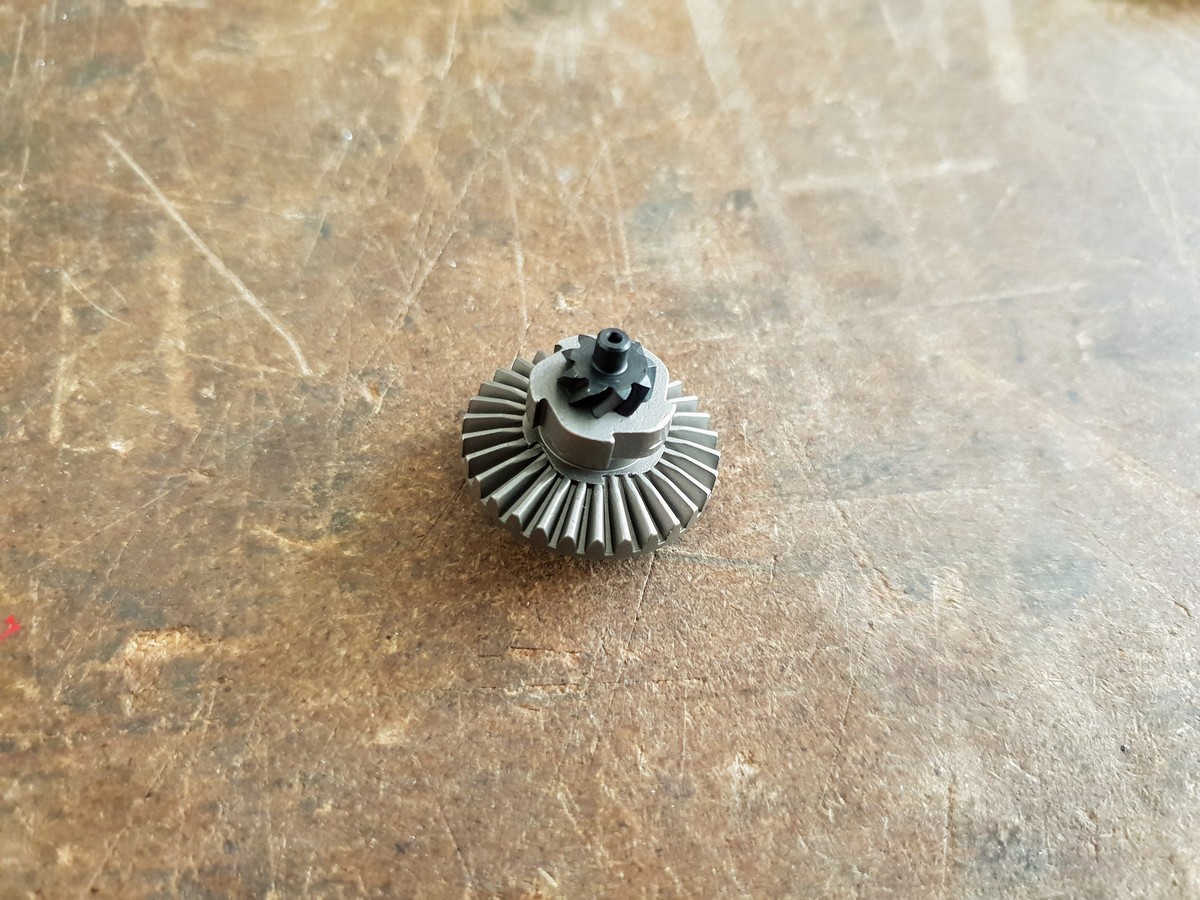
Picture n.i - Motor gear is located closest to the motor and deliveres the rotation from the motor to the center gear, this gear has also the highest rotations. Motor gear has the "Cornerstop", which prevents from overturning the gears when the piston is not fully loaded, with assist of anti-reversal latch.
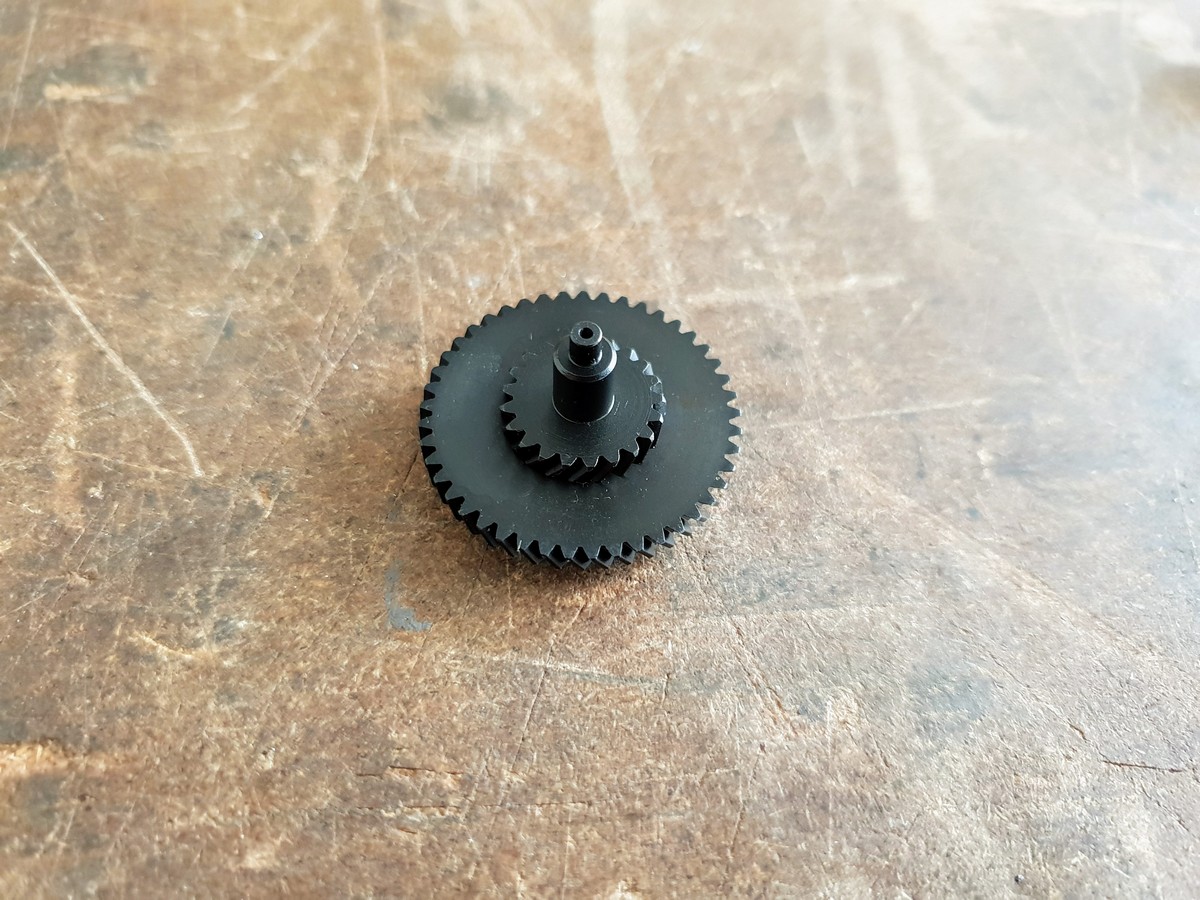
Movie n.2 - Center gear deliveres rotations from motor gear to the piston gear.
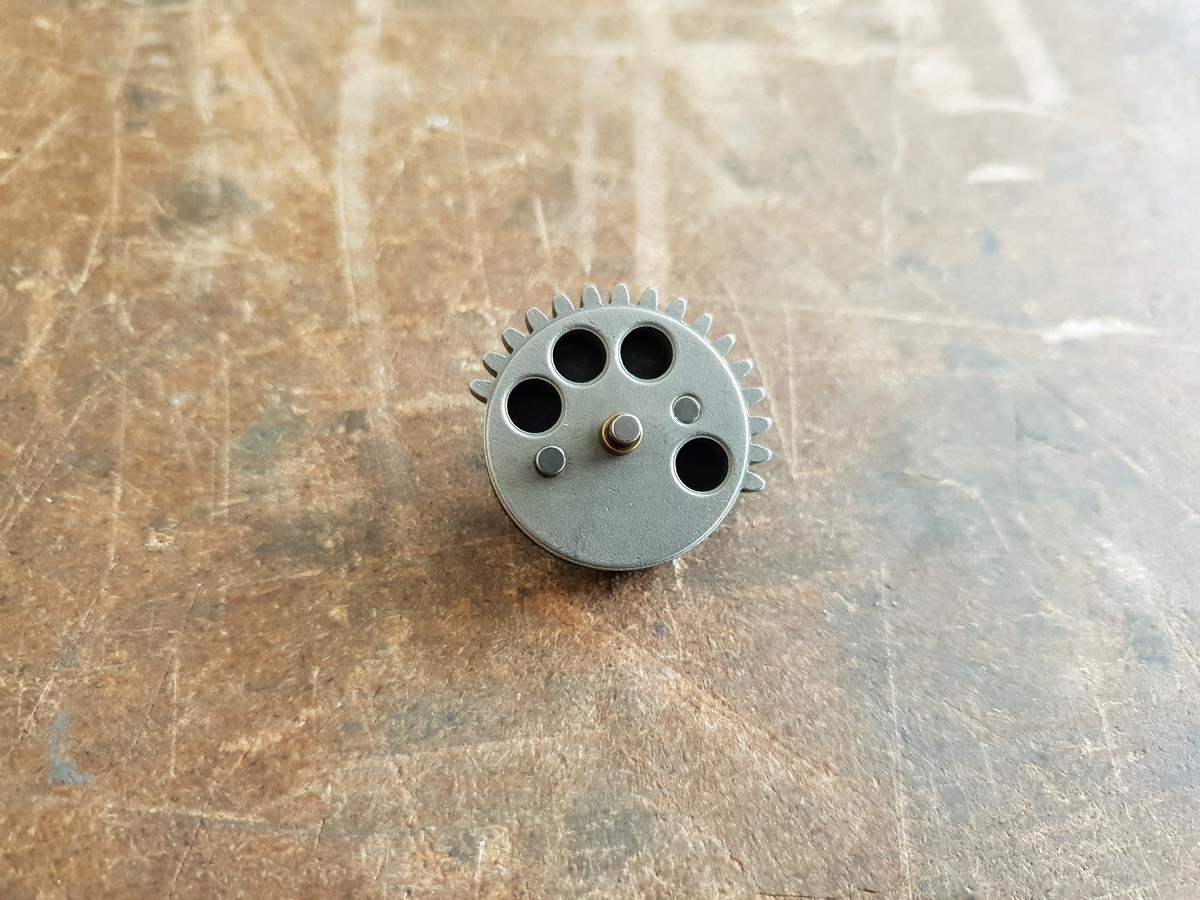
Motion-picture show due north.3 - Piston gear deliveres rotations from the heart gear to the piston.
For the all-time performance of the gears, we need a high quality bushings or bearings, the main difference of them and how to utilise them are in this article, next we volition need a shims and vaseline. For meliorate manipulation and shimming, we recommend to remove most of the gearbox parts.
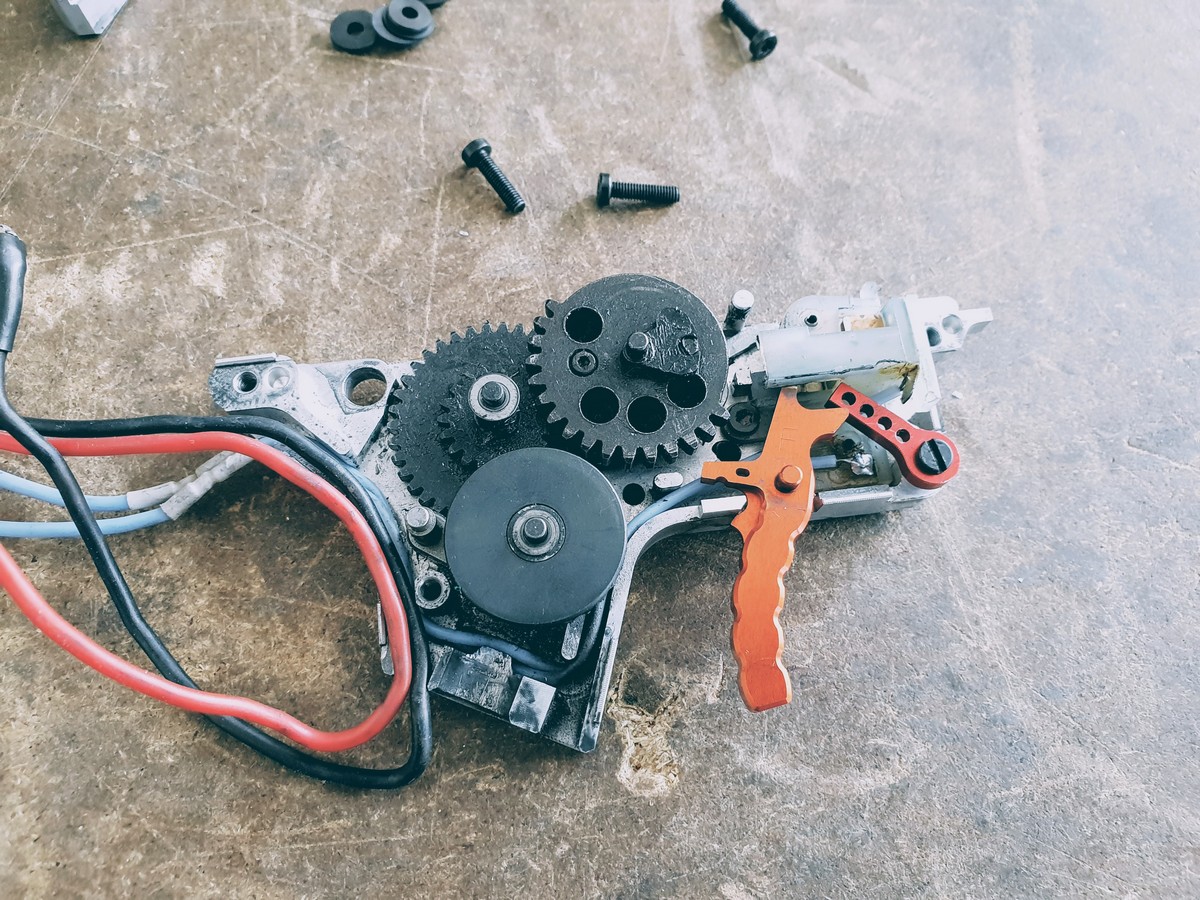
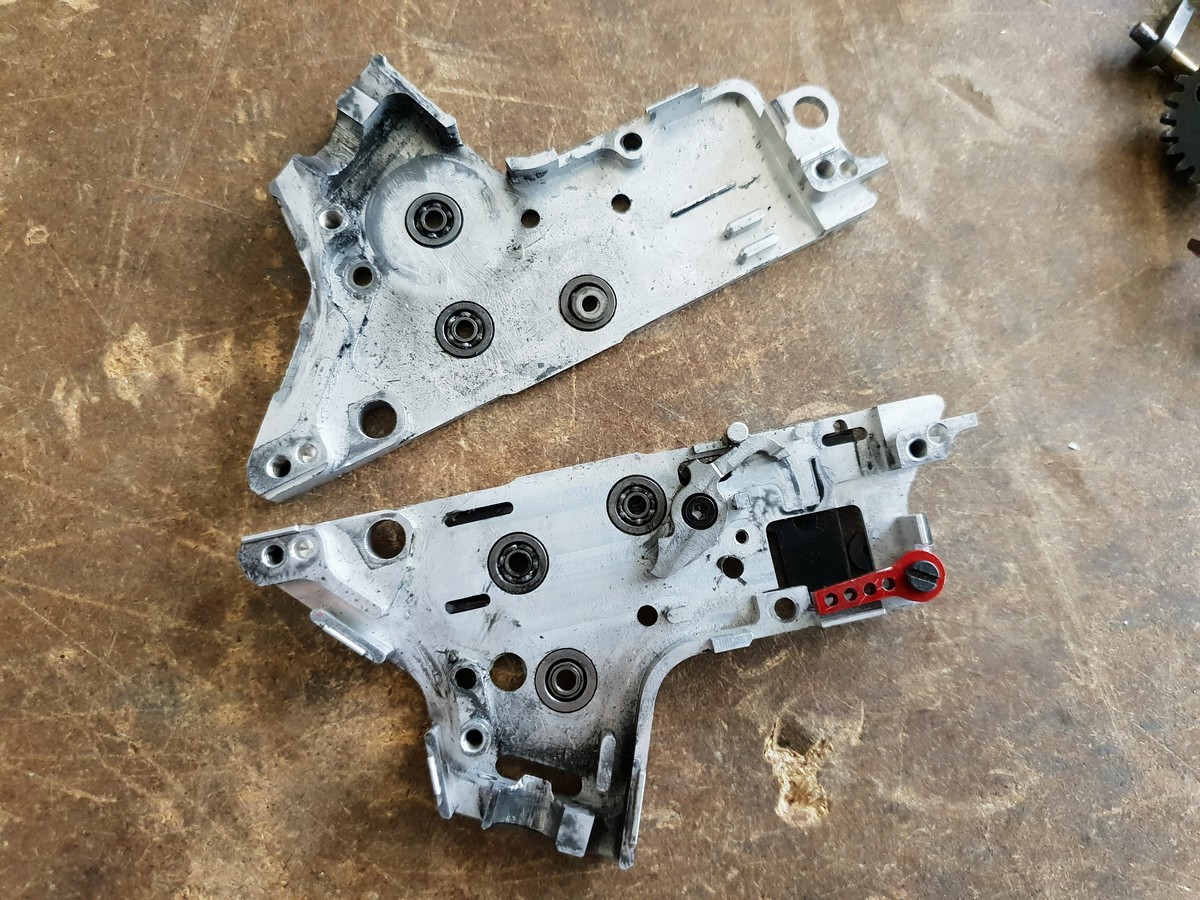
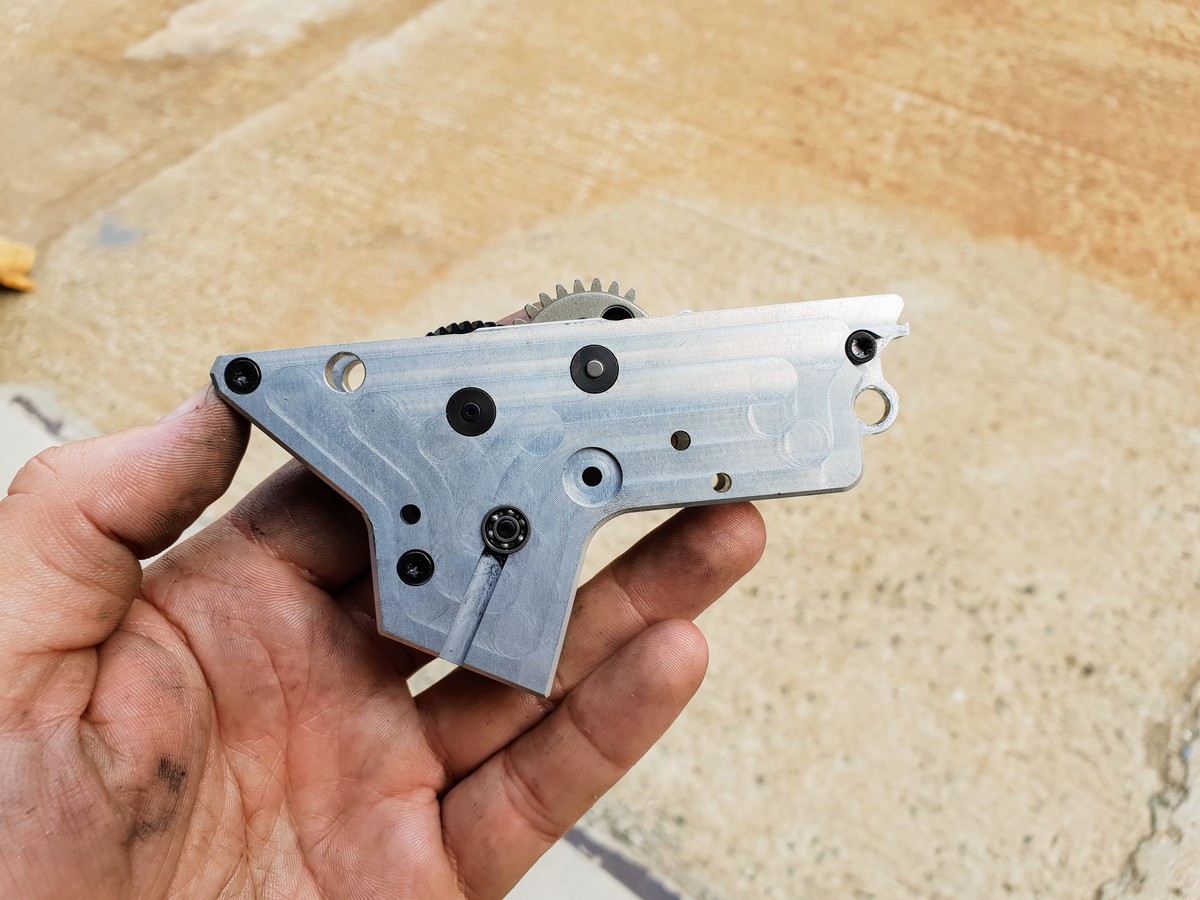
Moving picture n.4 - Lower par of the split gearbox, before change of the gears.
Correct guide for the shimming of the gears
Offset pace is always full cleaning of the gearbox and correctly installing of the bushings/bearings, by stamping or glueing. How to do that is in this article.
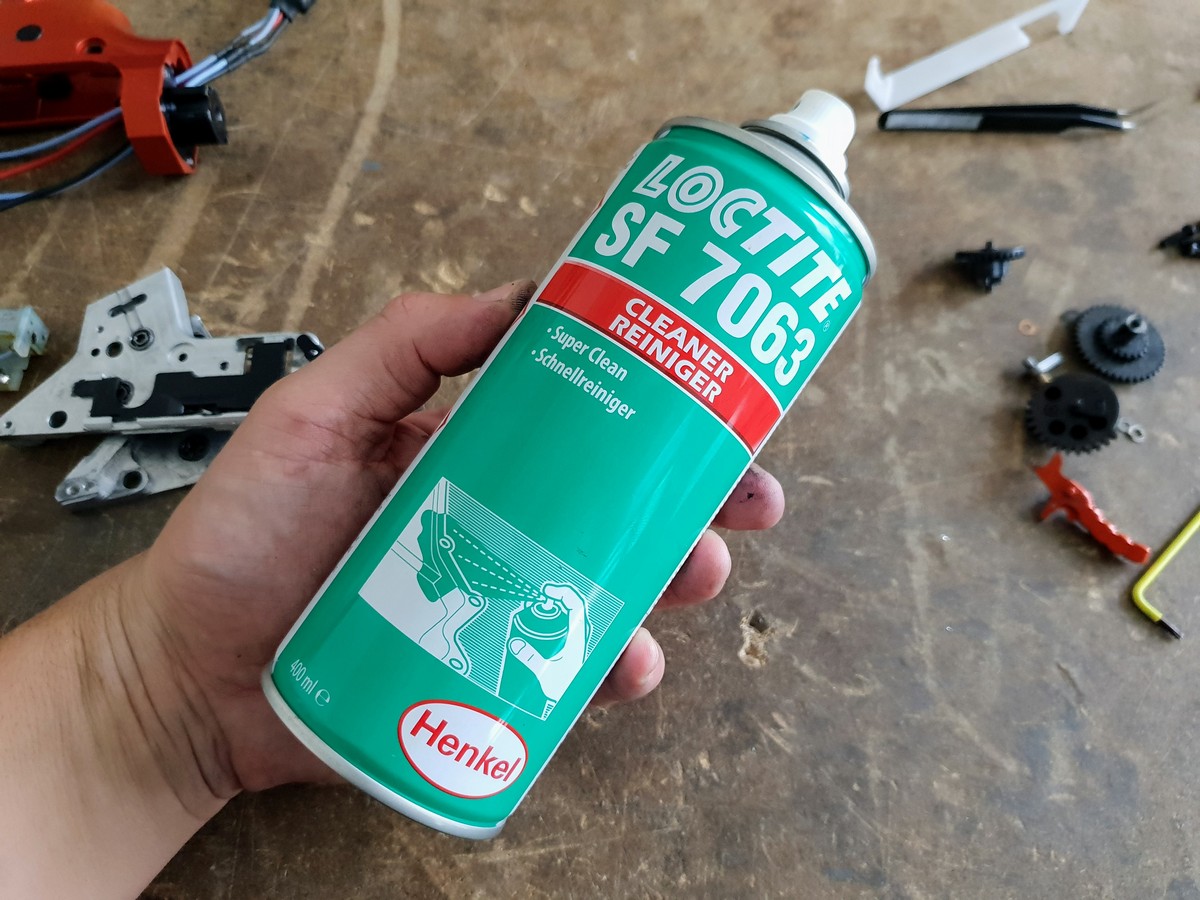
Picture n.5 - Removed trigger switch and gears from the gearbox. For the cleaning of the gearbox is used Loctite SF 7063 cleaner (Movie n.six).
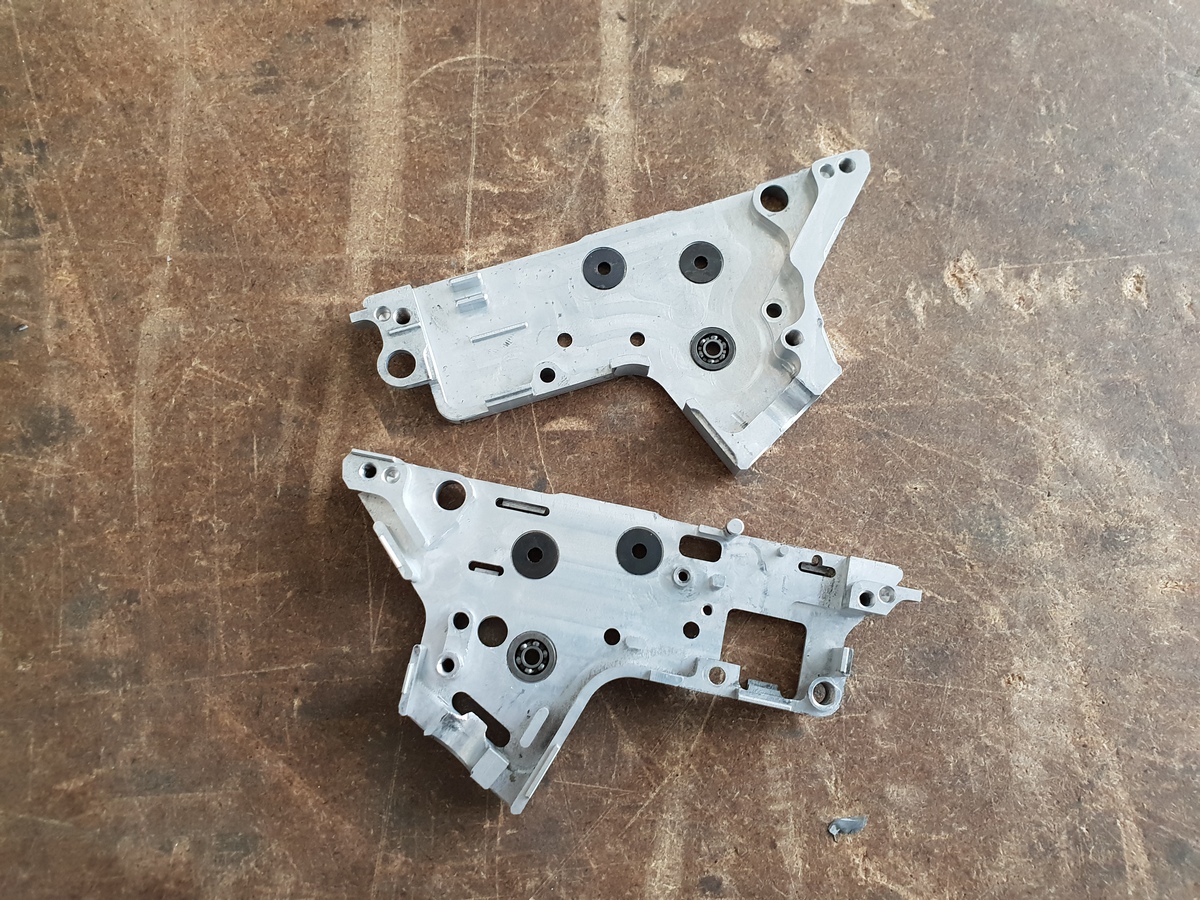
Picture n.7 - Cleaned gearbox. Nosotros need to remove residual of the parts and change the bushings.
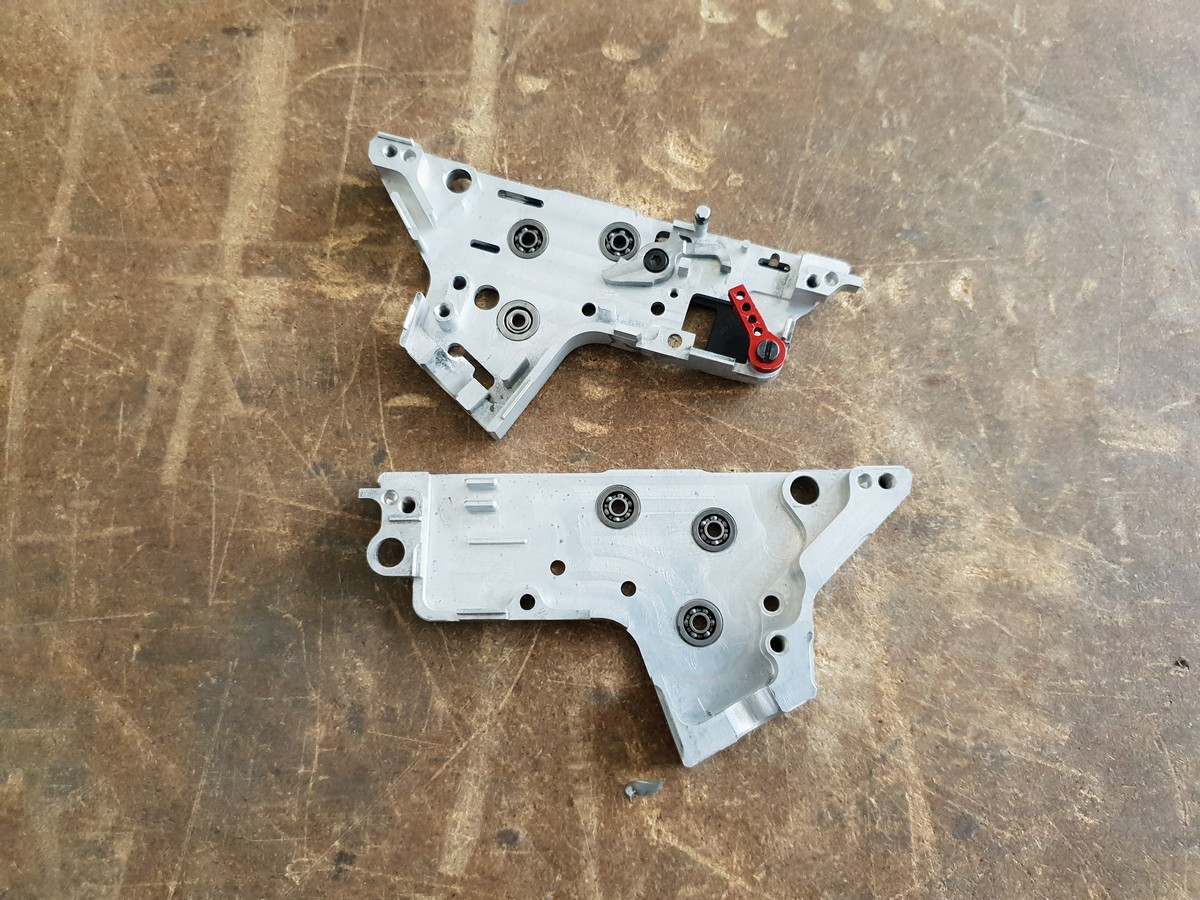
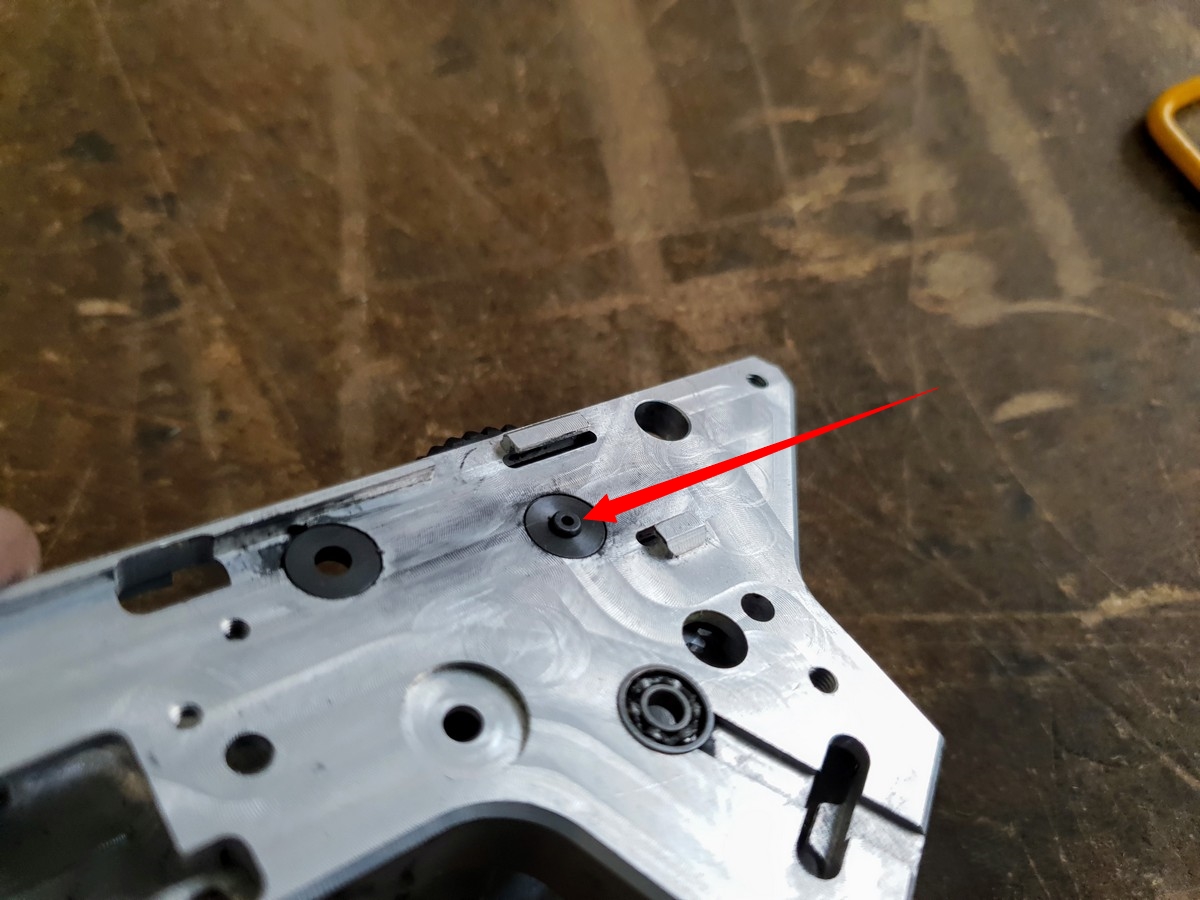
Motion-picture show northward.viii - Installed bushings with combination of the bearings on the motor gear.
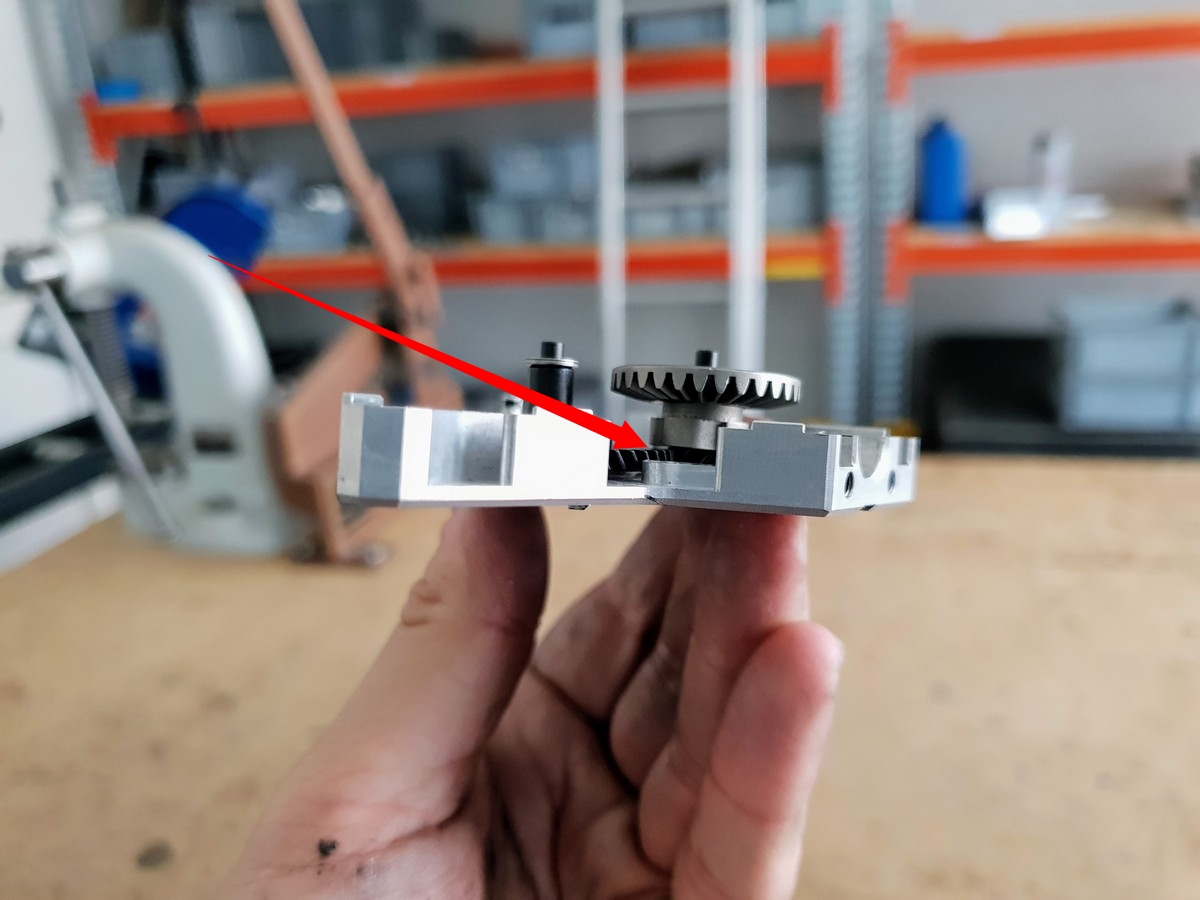
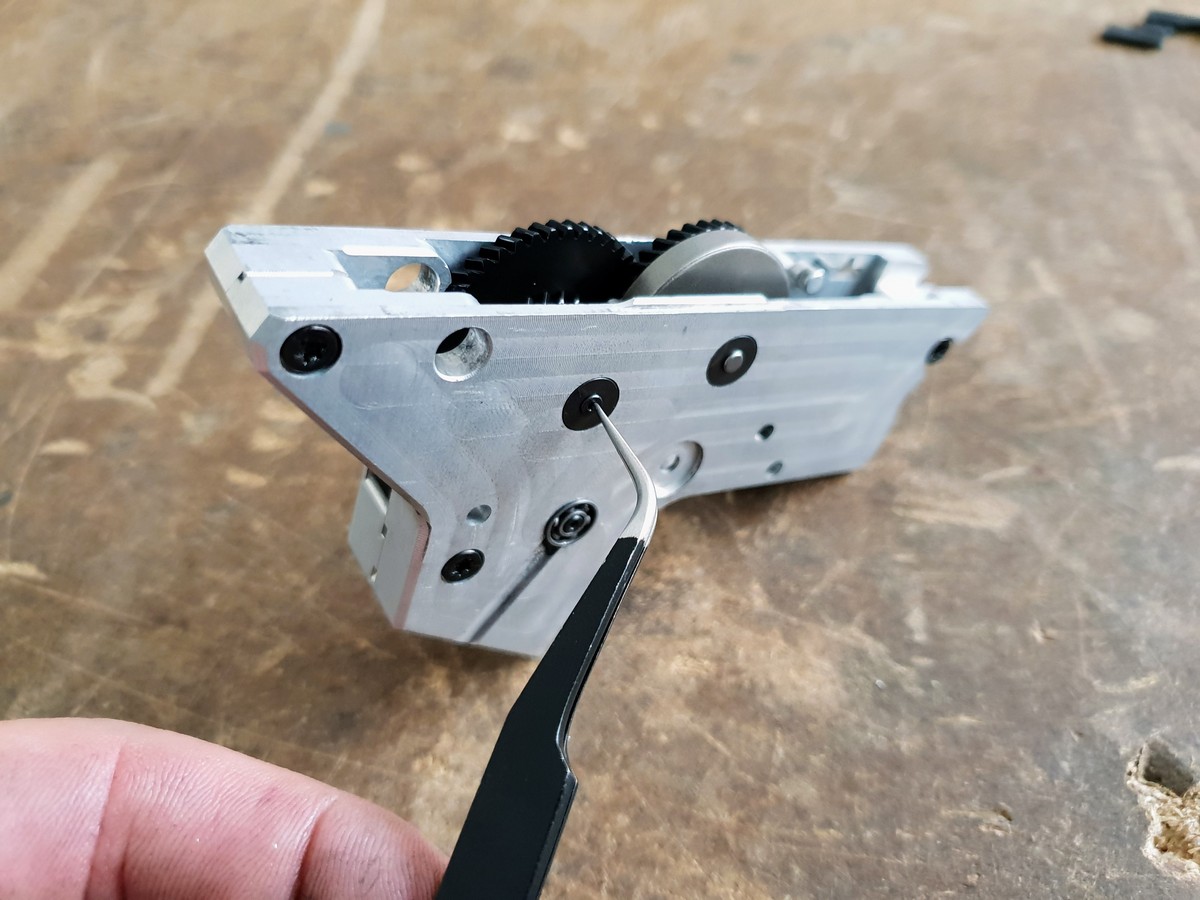
The bushings and bearings needs to be installed correctly and they needs to be under the surface of the gearbox. If the flange of the bushing would be above the gearbox surface, it tin can cause jamming of the gears. If y'all have bushings or bearings in the right position, we tin can kickoff with setting upwardly of the two 0,1mm shims on the centre gear for the left side of the gearbox (gearbox is divided into two parts, left and right, the markings of the gearbox sides is made by shooters side, because the left side is more complicated and there is installed for example trigger switch).
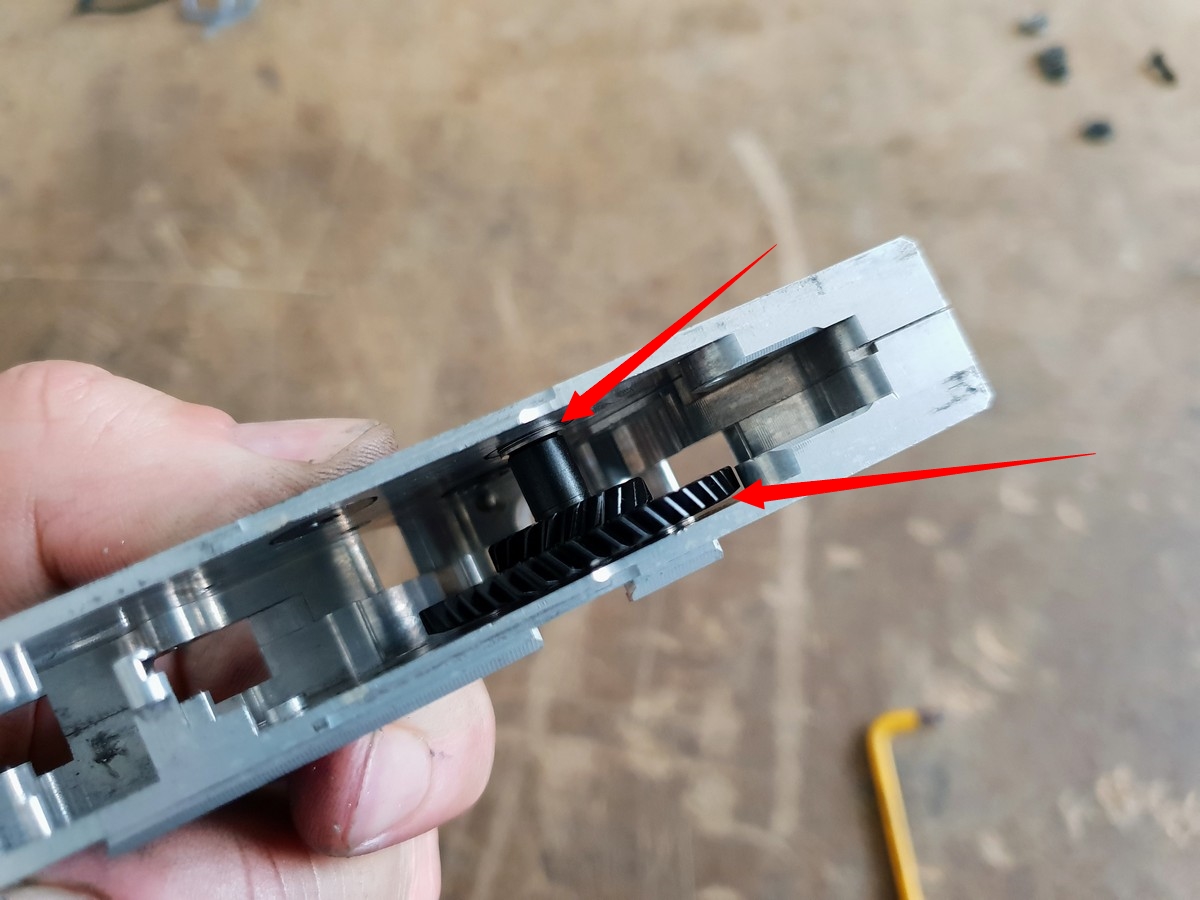
Picture n.nine - Right minimal movement will betwixt middle gear and gearbox.
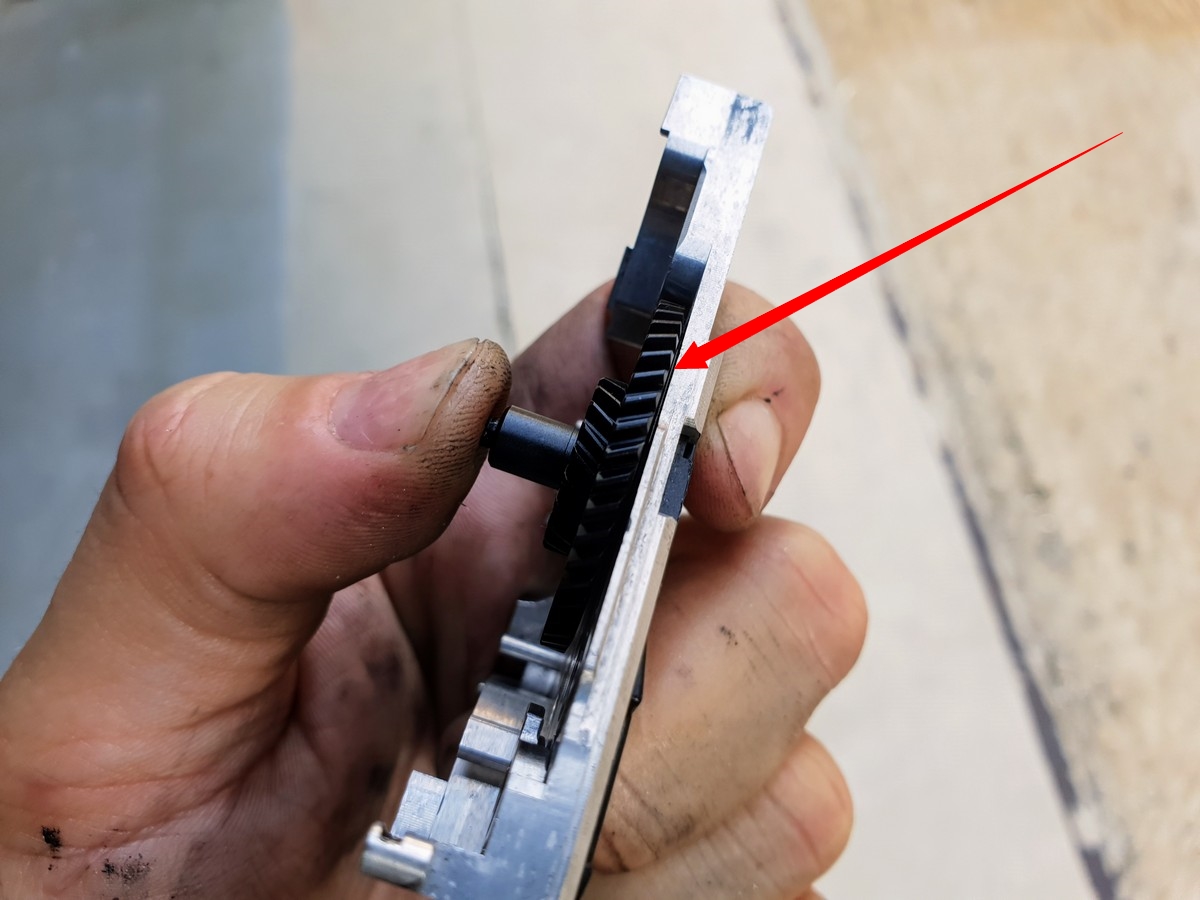
There must not be anything that could crusade the jamming of the gear. Some of the gears could have angle teeth then the left side needs 0,5mm shim (or 5x 0,1mm shims). Do non use any vaseline.
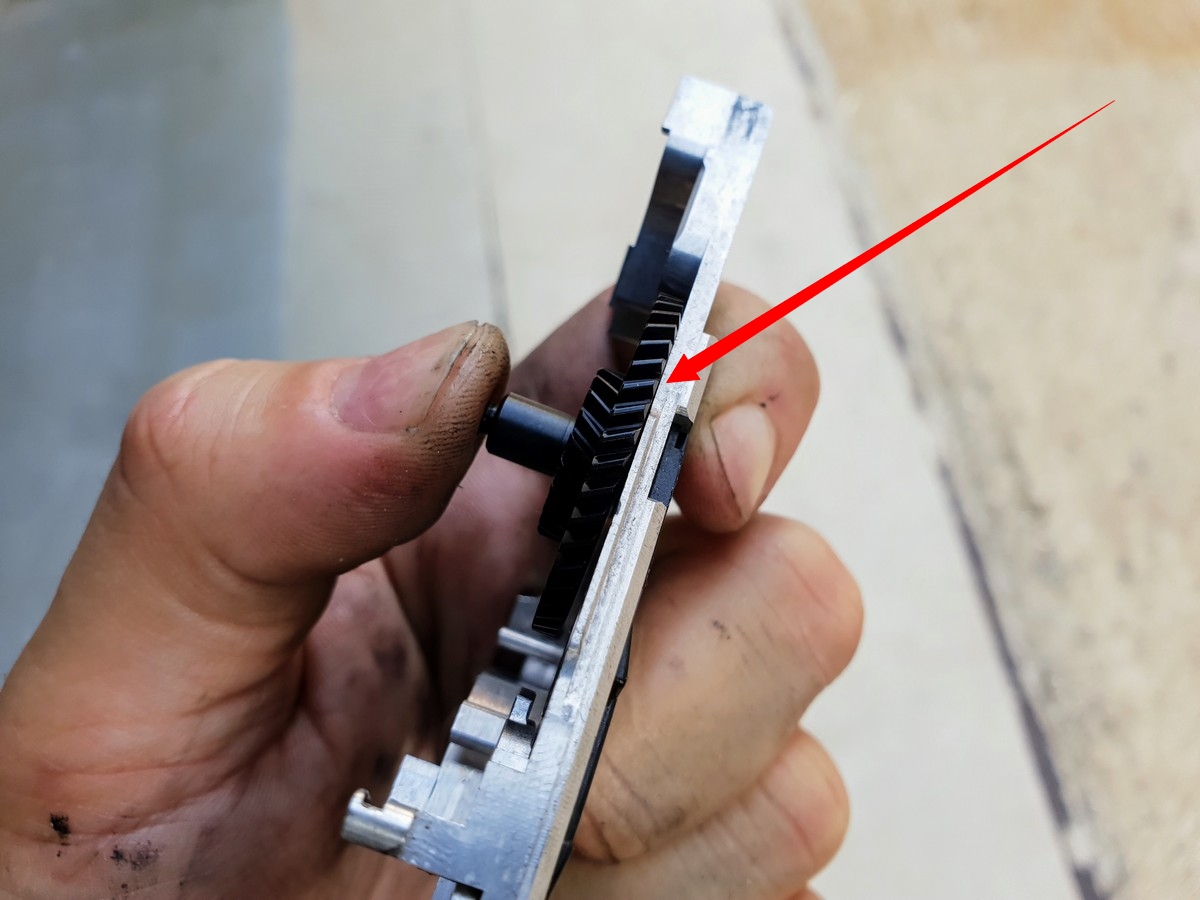
Picture n.ten - Zero gap = jamming of the gear to the gearbox.
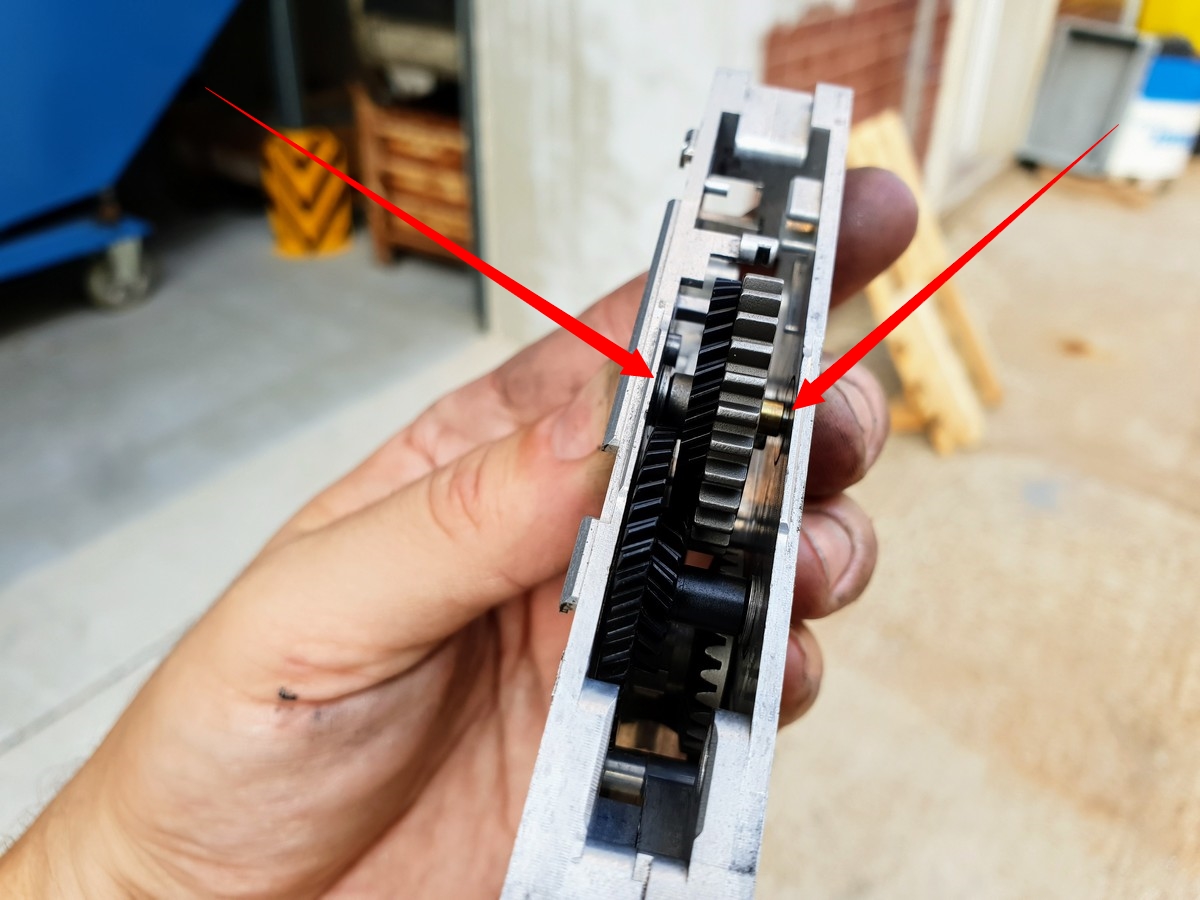
Motion-picture show north. eleven - Set the both sides of the gearbox together and cheque the gap. Count the size of the gap, remove side of the shell and add together on the center gear needed shims.
Set up all both sides of the gearbox together and screw information technology. It is more longer procedure, just we can be sure, that this piece of work volition have perfect result (yes, you can press whole gearbox in your hands, only the results of the shimming tin not be precise, that is why we recommend to screw it). We can come across at present, if the center gear turns or not, or nosotros can use tweezers and nosotros can push through the bushing and finds out the move volition. If the center gear is not turning around at all, we need to remove at to the lowest degree one 0,1mm shim. This procedure is repeated, until the gear turns around freely and practice non have whatever side will.
Pic n.12 - In our example, the gears accept also high shafts and they look out from the bushing, that is why we need to change the ratio of the shims. This ways, that nosotros need to add together 3 shims to the left side from the correct side, that means that the gear will still move freely, but it will accept higher gap from the gearbox.
Picture n.13 - Unlike ratio of shims instead of original programme. The gear has bigger gap from the gearbox now.
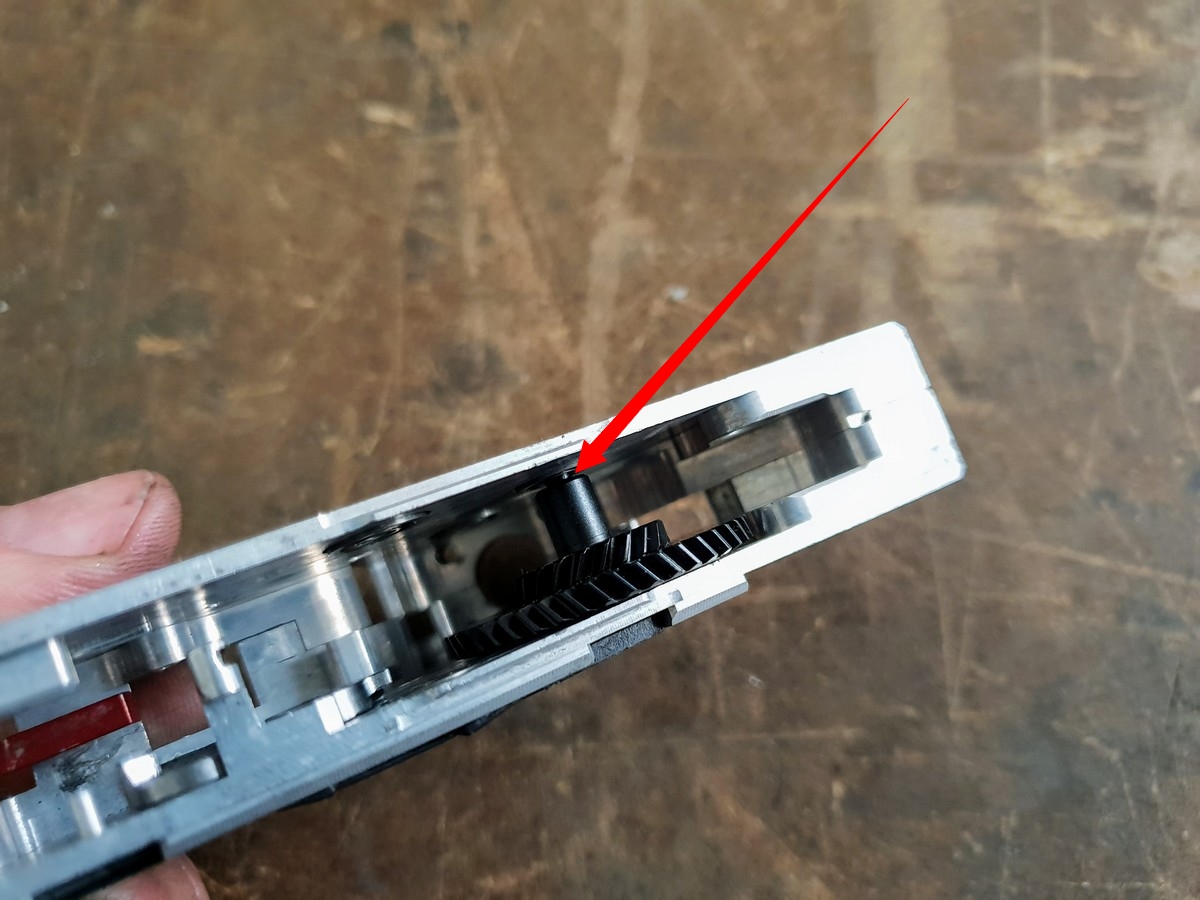
After finishing this procedure, we continue on the motor gear. For the left side of the gearbox where motor gear sits, we add at least one more than 0,1mm shim more, than on the center gear. Otherwise the gears would be jamming on themselves. On the angle teeth gears (sometimes and on someones), at that place is a need of more shims, for example 0,3mm (3 x 0,1mm shims).
Moving picture n. 14 - Shims on the motor gear.
Flick n. 15 - Most important is the gap between heart and motor gear. If in that location is not any gap, the gears would exist jamming and that tin cause breaking of the teeth on the gears.
Set both sides of the gearbox together and spiral them. Like in the middle gear scenario, we will do the same with the help of the tweezers and correct any movement will.
Later this process, screw the gearbox together and find out, if the both gears turns effectually freely, if non, remove the shims from the motor gear, until it is turning around freely without any side volition. Important function of this is to take care and look on the both gears, the gears must not be jamming together, considering that would cause more than pressure on the motor and the gears could grind out steel dust into the gearbox. Apply this procedure until your gears turn effectually freely without whatsoever side will in the screwed gearbox.
For the last gear, we use similiar procedure. Add together at least one 0,1mm shim more (than on the eye gear) on the piston gear to the left side of the gearbox, fix both gearbox parts together and screw them. Information technology is important for the piston gear that it would not rub the gearbox border and add enough shims, then there are plenty gaps betwixt gears and gearbox.
Picture n. 16 - Last gap between piston gear and gearbox which we fill with shims.
Picture northward. 17 - Check with tweezers through the bushing if there is will in gears. The screws must be tightened (Motion picture n.xviii). If you did everything correctly and with care, in that location should non be any, or minimal (healty) will.
Correctly shimmed gears should run perfectly without resistence, even on the bushings. This video shows smooth gear run WITHOUT THE VASELINE. After lubricating with vaseline, there will exist fifty-fifty lower resistance on the gears.
During shimming process, there could be situation, where the gear without shim has movement will and after adding shim, it will turn around desperately. We recommend in this scenario skip the shim and let the gear have the "good for you movement will", than hardly tight shimmed gears. After shimming process we recommend to "glue" shims with vaseline on the gear shafts, because you need to remove gears for installation of the other inner gearbox parts and you can not drop them by this manner.
Adjacent video shows up the spin around of the gear with pressured air. It is the last proof, that the gears spins freely without jamming.
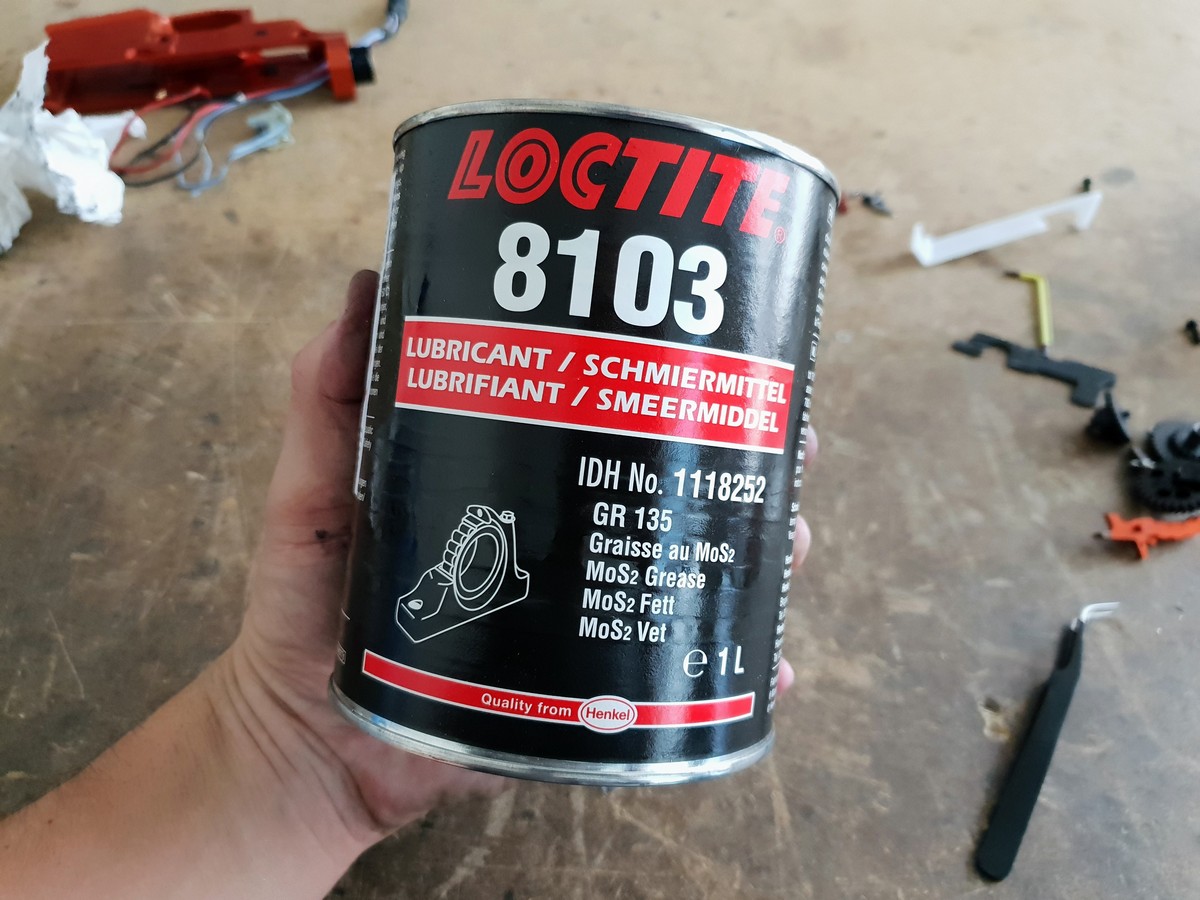
Last thing is the lubricating of the gears. Use a thin layer of vaseline on every parts of the gears where they connects together or where they touch together, for example sharfts, teeth etc. There is no demand of lubricating of the gear basic surface. Overlubricating is releasing during time into the gearbox and can cause brusk excursion for case in the process unit/ECU, if it is integrated in the gearbox. In our service center we apply Loctite 8103 vaseline (Moving picture due north.19).
Considering of huge variations of the gears, fabricated with unlike tolerations with different sizes, height of the shafts, in that location does not exist an verbal guide or count, for the used shims on the direct gear. This guide is but for explaining purpose. Straight count or configuration of the shims depends on many factors. Vaseline can be used about everyone, only not silicon ane, which has huge density and has glue effect. Silicon vaseline is used mostly for isolating of the electrical sources, thats why we do non recommend to use it for the rotational parts. In that location is no need of overlubrication, merely thin layer of vaseline on the parts where they touches or work together is enough.
Dorsum to news
When You Need Gears for Airsoft
Posted by: brookinseize1970.blogspot.com
0 Response to "When You Need Gears for Airsoft"
Post a Comment